Tick Identification Chart: How to Compare Ticks by Photo
Use this tick identification chart to compare common tick shapes, colors, sizes, markings, and photo clues before you decide what to do next.
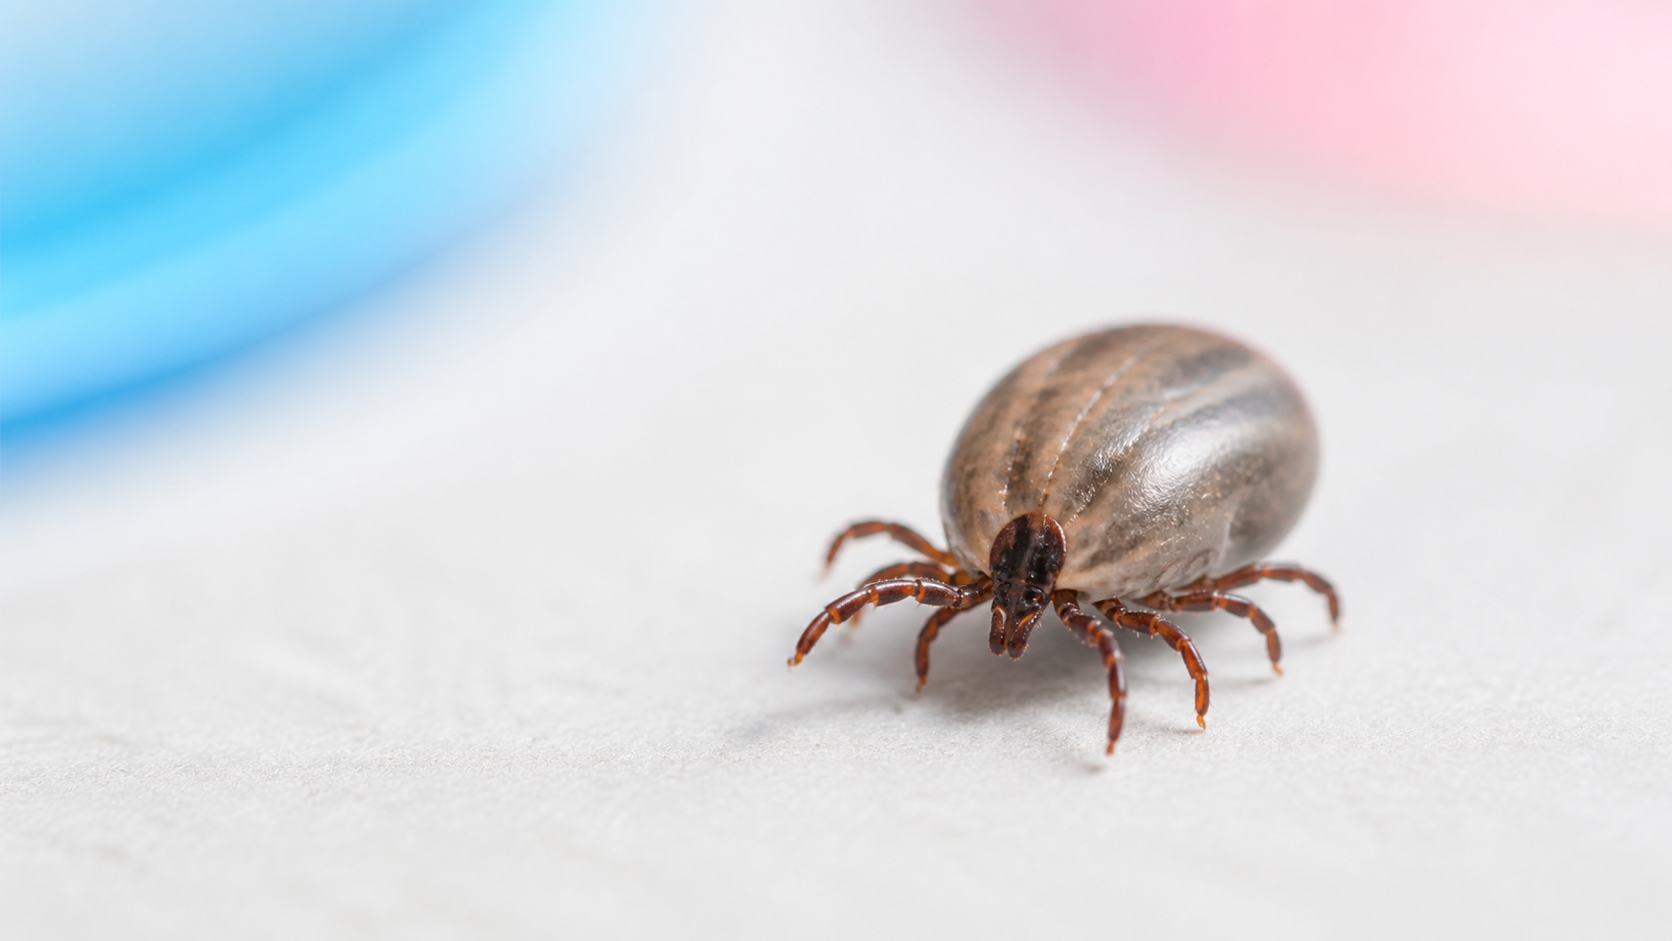
Important: Ticky is an educational photo inspection tool. It does not diagnose tick species, disease risk, or medical conditions. If a tick was attached to a person or pet, follow official health guidance and contact a medical or veterinary professional when needed.
Quick Tick Identification Chart
This tick identification chart is a simple visual checklist for comparing a tick photo. Start with the biggest clues first: body shape, color, size, legs, and markings. A single clue is rarely enough, but several clues together can make tick ID by photo easier.
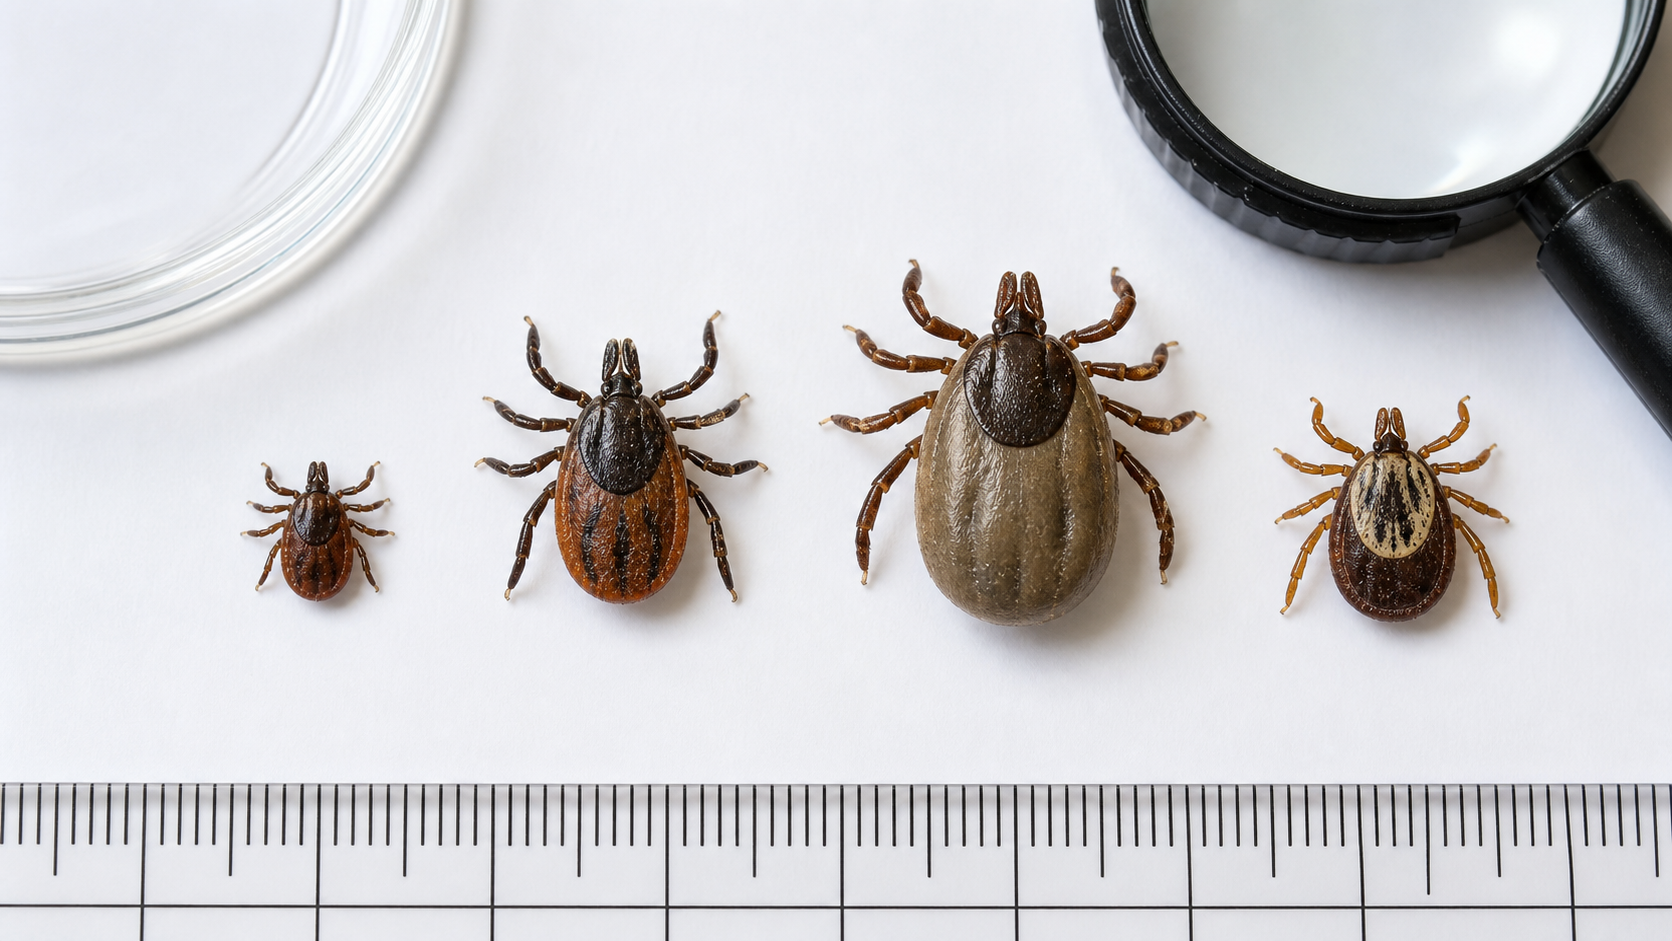
| Tick clue | What to check in a photo | Why it matters |
|---|---|---|
| Body shape | Flat oval, round body, or swollen engorged body | Engorged ticks can be harder to compare because feeding changes their shape. |
| Color | Dark brown, reddish brown, gray, black, or patterned markings | Color can help, but lighting and filters can change how a tick appears. |
| Size | Compare with a coin, ruler, fingernail, or plain background | Nymph ticks can be very small, so a scale reference makes the photo more useful. |
| Legs | Count visible legs and check whether the object looks like an insect or arachnid | Adult ticks have eight legs, while many insects have six. |
| Markings | Look for a pale dot, shield pattern, stripes, or a plain dark back | Some common ticks have markings that are easier to compare from a sharp top-down photo. |
How to Take a Better Tick Photo
A good tick ID photo starts with light and scale. Place the tick on a plain white or light surface if it is safe to do so. Keep the camera steady, tap to focus, and take one photo from above and one from the side. If the tick is still attached, do not delay removal just to get a perfect photo.
After you have a photo, Ticky can help you inspect the image with visual filters and contrast modes. This is useful when the tick is dark, tiny, hidden in pet fur, or difficult to see against clothing or bedding.
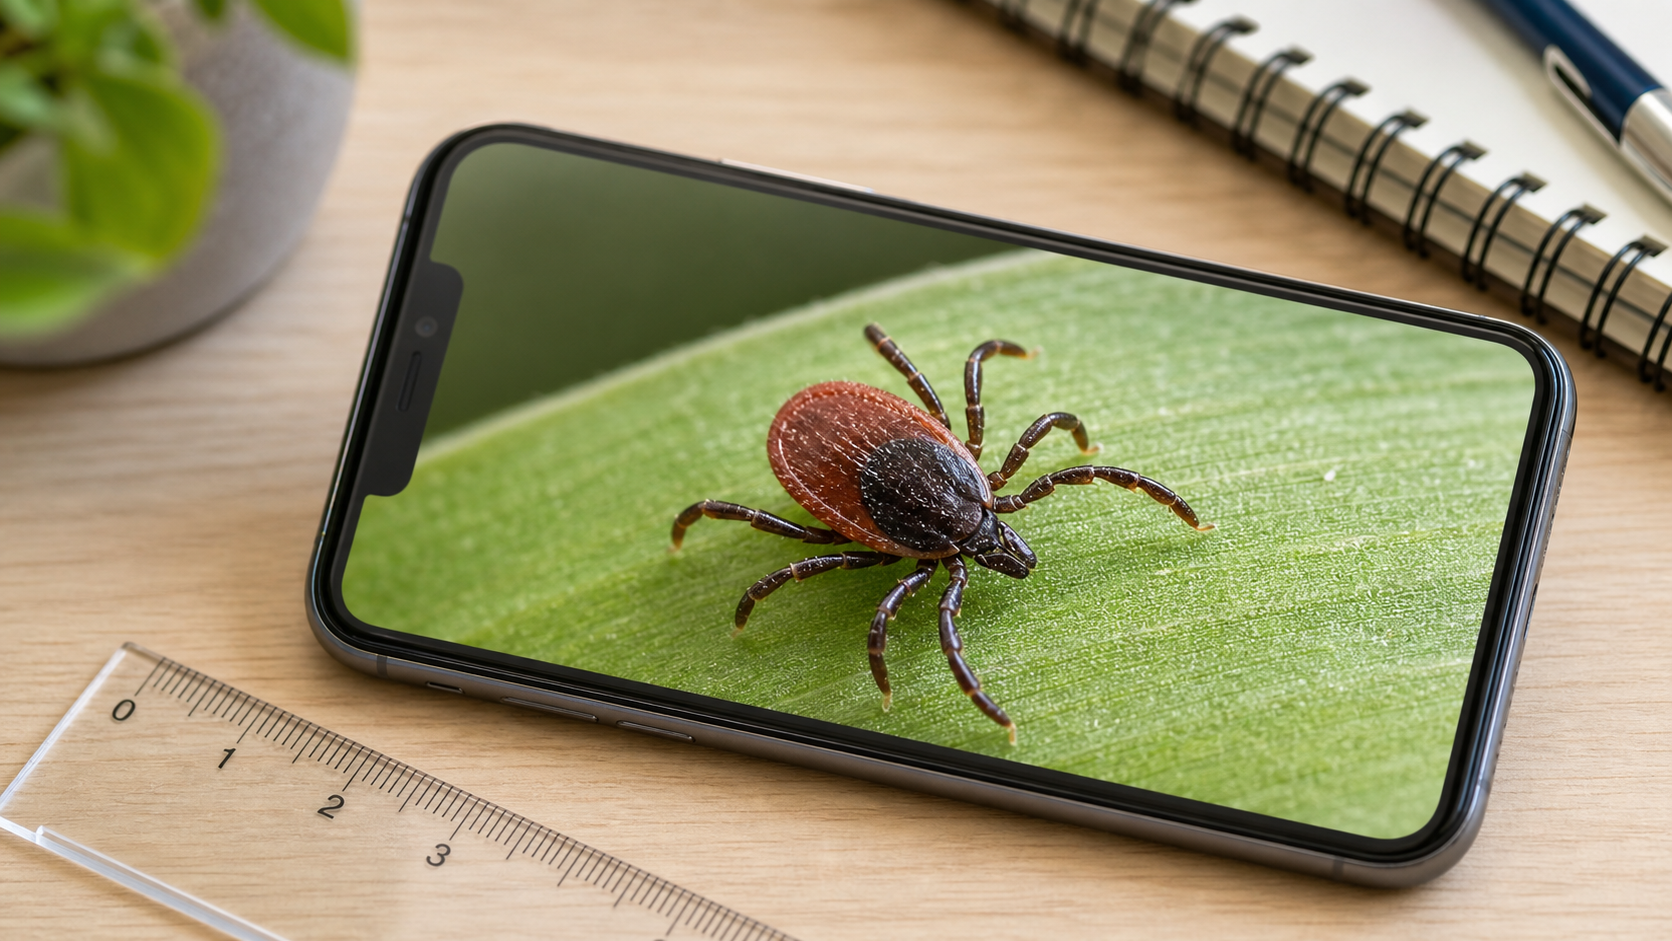
Use Ticky to inspect tick photos
Open your tick photo in Tick Detector Checker – Ticky to compare small details, adjust contrast, and keep a clearer record of what you found.
Common Tick Types People Try to Compare
A tick identification chart is usually the first thing you look for after finding a small dark speck on skin, a dog, clothing, or bedding. In the United States, official public health resources often discuss ticks such as blacklegged ticks, lone star ticks, American dog ticks, brown dog ticks, and other regional species. The exact tick type can depend on your location, the tick life stage, and the quality of the photo.
A chart can help you notice visual clues, but it should not be treated as a diagnosis. If the tick was attached, save the date, location on the body, travel area, and a clear photo. This information can be useful if you later speak with a doctor or veterinarian.
What Details Matter in a Tick Photo?
When you inspect a tick photo, first check whether legs are visible. Adult ticks have eight legs, while many insects have six. Next, look for a compact oval body, dark or reddish-brown coloring, and any visible markings on the back.
Size is also important. If possible, photograph the tick beside a ruler, coin, or another familiar object. Nymph ticks can be very small, while engorged ticks can look larger and rounder after feeding. This is why a tick can look different depending on when it was found.
Common Photo Mistakes That Make Tick ID Harder
Many tick photos are difficult to compare because the camera focuses on the background instead of the tick. If the image looks soft, move slightly farther away, tap the tick on the screen to focus, and take another shot. A sharp medium-close photo is often more useful than an extremely close but blurry one.
Another common mistake is using a busy background. Fur, carpet, fabric patterns, grass, and wood grain can hide the outline of a small tick. If the tick is no longer attached, move it to a plain light surface before taking a photo. If it is attached, take a quick photo first, then remove it safely.
What to Save With Your Tick Photo
If you are trying to identify tick by photo, save more than the image itself. Write down the date, where the tick was found, whether it was attached, and whether it came from a person, dog, clothing, bedding, or outdoor gear. These details can make the photo more useful later.
For pet checks, save the photo with the body area where you found the tick, such as ear, neck, paw, belly, or collar area. For people, note the body area and where you may have been exposed, such as a yard, trail, park, or wooded area.
When a Tick Photo Is Not Enough
A photo can help with visual comparison, but it cannot confirm disease risk. If the tick was attached, remove it promptly if you can do so safely. The CDC tick bite guidance recommends using clean fine-tipped tweezers, grasping the tick close to the skin, and pulling upward with steady, even pressure.
If you develop a rash or fever in the days or weeks after removing a tick, CDC guidance says to contact a doctor and share when and where the bite happened. For pets, contact your veterinarian if you are unsure how to remove a tick or your pet seems unwell.
How to Compare Your Photo With a Tick Guide
After you have a clearer photo, compare it with a guide in a slow order. Start with size and shape, then look at color, legs, and markings. Avoid jumping to a species name from one clue alone, especially if the tick is damaged, partly hidden, or engorged.
If your photo is still unclear, take a second image from another angle. A top-down photo can show the back and markings, while a side photo can show whether the body is flat or swollen. Together, these views give you a better chance to identify tick by photo without relying on guesswork.
What to Do After Finding a Tick
If a tick is attached to skin, official health guidance recommends removing it as soon as possible. A plain set of fine-tipped tweezers can work well: grasp the tick close to the skin and pull upward with steady, even pressure. After removal, clean the bite area and your hands.
Watch for symptoms after a tick bite and contact a healthcare provider if you develop a rash, fever, aches, or other concerning signs. For pets, ask your veterinarian about tick prevention and next steps.
Tick Identification FAQ
Can I identify a tick by photo?
A clear photo can help you compare tick clues like shape, size, color, and markings. It is not a medical diagnosis, but it can be useful for documentation and visual comparison.
What is the best background for a tick photo?
A plain white or light background usually works best. Add a ruler, coin, or other scale reference if possible.
Can Ticky replace a doctor or veterinarian?
No. Ticky is an educational photo inspection app. For bite symptoms, disease risk, or pet health questions, contact a medical or veterinary professional.
Why does a tick look different after feeding?
Ticks can become swollen after feeding, which can change their shape and color. This can make visual identification harder.