Tick Identification Guide
Photographs of Ticks: A Visual Species Reference
Learn how to read photographs of ticks clearly, spot key identification features, and use photo clues safely before you check a tick identification app.
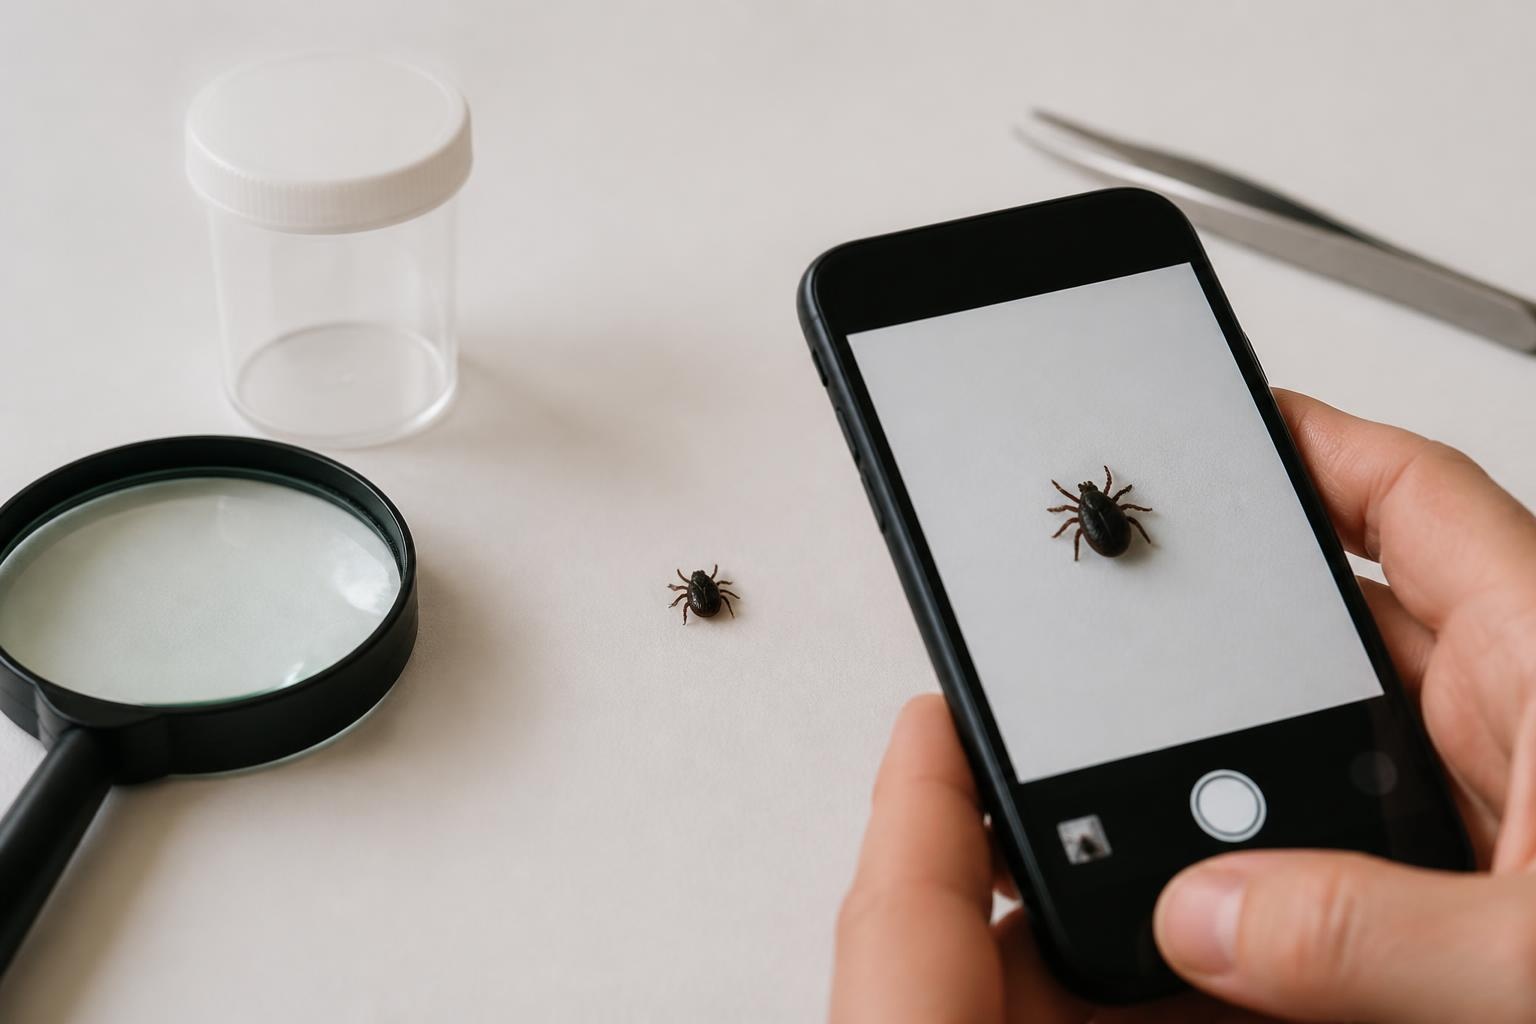
If you are searching for photographs of ticks, you are probably trying to answer a simple but important question: what am I looking at? Clear tick pictures can help you compare size, color, body shape, and leg placement before you decide what to do next. This guide explains the most useful photo clues and how to use them without overreading a single image.
Safety note: Photos can help with basic identification, but they do not replace professional advice. If a tick may have bitten a person or pet and there are symptoms, or if you are unsure about removal, follow guidance from a clinician, veterinarian, or local health authority. For general safety information, see trusted public health sources such as the CDC.
What to look for in photographs of ticks
Good identification starts with a few visible features. A clear tick photo should ideally show the body, legs, and where the mouthparts sit. Even if the image is small, these details often matter more than the background or color alone.
| Feature | Why it matters | What to notice in a photo |
|---|---|---|
| Body shape | Helps separate ticks from other small bugs | Oval or rounded body, often flatter when unfed |
| Leg count and placement | Ticks have 8 legs as adults and nymphs | Look for clustered legs near the front half of the body |
| Mouthparts | Can help confirm it is a tick | Small forward-pointing parts at the head end |
| Size | Useful, but easy to misjudge without a scale | Compare the insect to a coin, ruler, or fingertip in the frame |
| Color and pattern | Can narrow down possibilities | Uniform dark body, reddish-brown body, or pale markings |
When you compare tick pictures, try not to rely on color alone. Lighting, flash, blood feeding, and camera focus can all make the same tick appear much darker or lighter in different images. A blurred tick image may still be useful if the leg count and body outline are visible.
How to read a tick photo more accurately
To get the most from a tick image, look for the context around the specimen as well as the specimen itself. A close-up can be helpful, but a slightly wider shot often gives you better scale and orientation.
- Use scale: Include a ruler, coin, or another small object nearby.
- Check both angles: Top-down and side views reveal different details.
- Focus on the head end: The mouthparts and front legs are useful clues.
- Avoid heavy zoom blur: A slightly farther, sharper image is often better than an extreme close-up.
- Watch the lighting: Harsh flash can hide markings or create glare.
If you are taking photos yourself, place the tick on a light-colored surface or inside a clear container. Do not handle it with bare fingers if there is any chance it was attached to skin or a pet. The best photographs of ticks are simple, steady, and well lit.
Photo clues that can help with common situations
Certain search phrases often reflect what people are trying to identify. For example, a dog tick picture, dog tick pics, or dog tick photo usually means the insect was found on a pet or near a dog. In those cases, the surrounding context matters just as much as the bug itself.
| Situation | Helpful photo clue | What to avoid assuming |
|---|---|---|
| Found on a dog | Show the tick beside a ruler or on a white surface | Do not assume the species from size alone |
| Found on skin | Capture the attachment point and the tick’s body shape | Do not judge severity from the photo alone |
| Very tiny insect | Try multiple sharp photos from different angles | Do not confuse it with a speck of dirt or a flea |
| Engorged tick | Show the swollen body and any visible attachment site | Do not rely on color, which may change after feeding |
If your search is specifically about a tick on skin photo, be careful with interpretation. Skin can distort the apparent size of the tick, and redness around the area may come from irritation, pressure, or lighting in the photo. A photo may help you document what happened, but it should not be treated as a diagnosis.
When a photo is enough and when it is not
Sometimes a photo can answer the basic question: “Is this likely a tick?” But if the image is blurry, too dark, or taken from too far away, you may need a second opinion or a better picture before drawing conclusions.
Use the photo on its own to make a quick first check. Then move on to the next step if any of these apply:
- The bug was attached to skin or fur.
- The tick may have been present for a long time.
- You notice fever, rash, unusual fatigue, or other symptoms after a bite.
- The tick came from a child, older adult, pet, or anyone with health concerns.
- You are unsure how to remove it safely.
For tick removal and bite concerns, public health guidance is more reliable than visual guesswork. If you need broader site support, the Tick Identification App can help you organize photos and review identification details in one place.
How to compare a tick photo with reliable references
Not all reference images are equal. When comparing a tick photo to a guide, look for images that show the same viewpoint and a known scale. A top-down studio image and a phone snapshot taken outdoors may look very different even if they show the same type of tick.
Useful comparison sources on this site include:
- Identify Tick by Photo for a photo-first approach
- Tick Identification Chart for quick comparison points
- Tick Identifier for broader identification support
If you are comparing dog tick pics or looking for a dog tick picture, it can also help to review species-focused guides such as Dog Tick Identification and Dog Tick Species: Complete Guide. These pages can help you understand what details matter most in pet-related finds.
Practical tips for taking better tick photos
Better photos usually mean better comparisons. If you need to capture a tick yourself, keep the process simple and safe.
- Use bright, even light if possible.
- Place the tick on a plain background or inside a clear container.
- Take at least two photos: one wider shot and one close-up.
- Include a size reference such as a ruler or coin.
- Keep your hand steady and avoid overusing digital zoom.
- Photograph the tick from the top and side if you can do so safely.
If the tick is attached to skin or a pet, do not delay removal or care just to get a better image. A usable photo is helpful, but safety comes first.
When to seek help
Seek medical or veterinary help promptly if you are worried about the bite, the tick was difficult to remove, or symptoms appear afterward. Photos can support the conversation, but they do not replace a proper evaluation.
Seek urgent guidance if there is increasing redness, swelling, fever, rash, headache, or any new symptoms after a tick bite. For pet concerns, contact a veterinarian, especially if the tick was attached or your dog seems unwell.
If you want a fast way to review a tick image and keep your findings organized, try the Tick Identifier app. It is a simple next step when you have a photo and want to compare it more carefully.
FAQ
What makes photographs of ticks useful?
Clear photos help you compare body shape, leg placement, mouthparts, and size. The best images include a scale reference and are taken from more than one angle.
Can a single tick photo identify the species?
Sometimes, but not always. A single image may be enough for a basic guess, yet blurry lighting, angle, and size can make identification uncertain. Multiple clear photos are better.
What is the best way to photograph a tick on skin?
Use steady light and capture the tick with the surrounding skin in frame for scale. Do not delay removal or medical care just to get a perfect image.
Are dog tick photos different from other tick photos?
The photography approach is the same, but pet-related images often need a better sense of scale and the place where the tick was found. A clear dog tick photo may help you compare it with pet-specific references.
Should I trust tick pictures from random search results?
Use caution. Search images can be mislabeled, too edited, or taken at different magnifications. Prefer trusted guides, charts, and comparison tools from reputable sources.
What should I do after I find a tick?
Save a clear photo if you can do so safely, remove the tick carefully if needed, and monitor for symptoms. If you are unsure, contact a healthcare professional or veterinarian for guidance.
If you have a photo and want a quicker way to compare it, the Tick Identifier app can help you inspect the details more closely. For more reference material, browse the Tick Identification Guides.
Try the Tickidentifier app
Use the app when you want a faster photo-based check before comparing details manually.